Tuesday, June 30, 2015

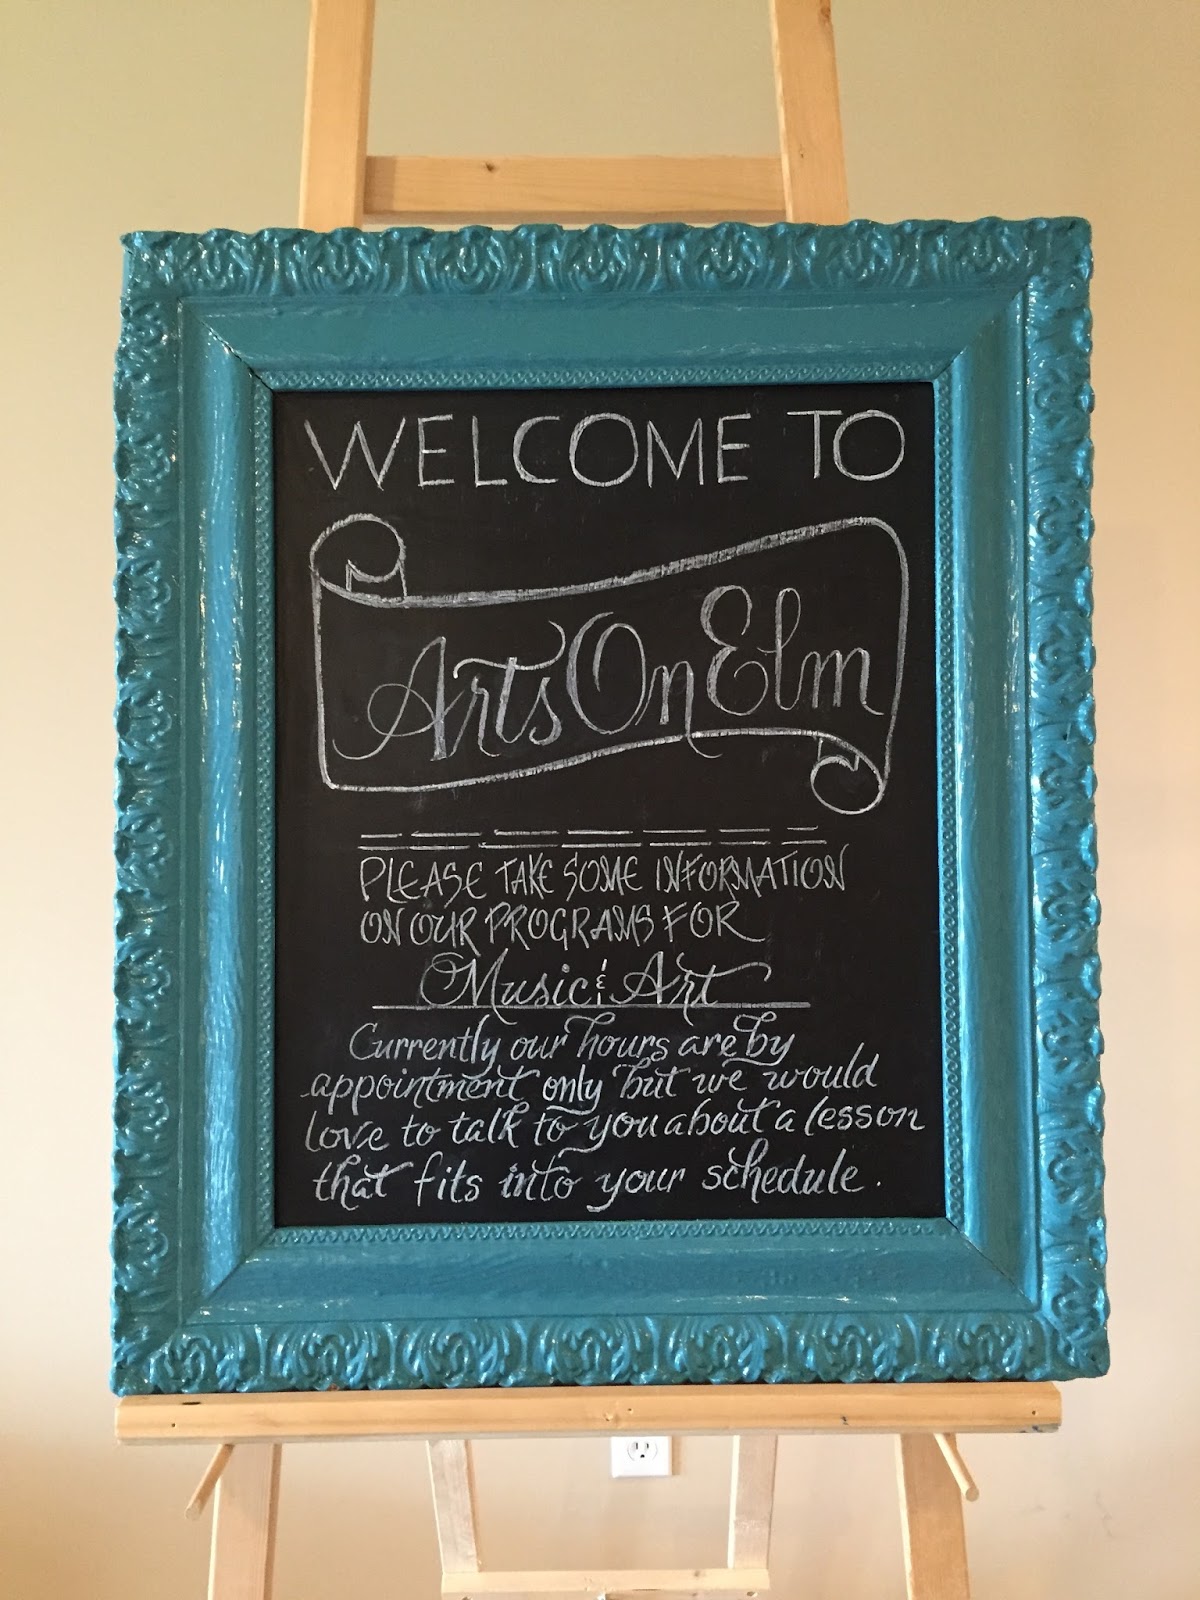
Chalkboard

I've had fun the last couple of months working on chalkboard.  They have been for personal use as well as for a client.  My choice was to stick with traditional chalk and not chalk markers, so that I could change up my sign easily.

My daughters prom inspired the first piece.


This sign was made for my daughter's graduation party.


The last on was a request from a new client and owner of Arts on Elm, here in O'Fallon.


This was fun and I look forward to more opportunities play with chalk and chalkboards.

Letter On,
Susan


Thursday, June 11, 2015

What Tools You Really Need

Every time I clean my studio my husband makes this comment "wow, you sure do have a lot of stuff." This is so very true!  I've collected a lot of art supplies over the years. Supplies I purchased for both classes I attend or was teaching that end up collecting dust after the excitement has diminished.  Other supplies were purchase because it was a good deal, or I was struck by an idea for a new project. 

However, if you ask me what should I purchase to start practicing my lettering, I would suggest the following:

1)  Good practice paper / sketch book to practice in whenever you want.
2)  Pencils, different types 
3)  Eraser
4)  Grid pad for copperplate and graph paper
5)  Ruler
6)  Sharpener
7)  Tracing Paper  -  use to trace letters for books to practice

I know this sounds boring, but you will be amazing at what you can learn using a pencil and copy paper.  Next, I recommend finding a guild and signing up for classes, to learn different lettering styles.  I prefer to be in a classroom setting where I can see the tools used, interact with other students as well as with the teacher.  But, if you decide to take an online class, take time and do your research, find a seasoned calligraphy teacher that is inspirational.  Best of all you can purchase books and check out online videos to learn about tools and techniques.  


Supplies in the above picture are, pencil, mechanical pencil, eraser, grid pad, ruler, Sumi Ink, McCaffery's Ink (haven't decided if I like this ink), two oblique pen holders with different nibs, little ink holders, and Schmincke Gold.


Susan

Wednesday, May 27, 2015

Celebrating 90 Years

I have some amazing family members, my uncle is most definitely on the top of my list.  I can't even being to imagine all the things my uncle has seen and done in his 90 years. I can tell you he has a great sense of humor and a big heart. His gift had to resemble him, simple, uncomplicated, and to the point.  I decided that this quote was perfect to mark this memorable birthday.


Keep Calm and Letter On,
Susan


Tuesday, May 12, 2015

Closing a Chapter

On Friday I said good-bye to my last retail employer.  I've decided that in order to pursue my calligraphic aspirations I will need to find a 9 to 5 job.  I developed a special friendship with a fellow coworker Rebecca, who was very interested in calligraphy.  On those very slow days and evenings I found myself teaching some basic techniques about copperplates script. Using a pencil and scrap paper I demonstrated the thick and thin lines of the letter shapes.  To encourage Rebecca to continue learning about copperplates script I gave her this folder full of paper with guidelines, samples of upper and lower case lettering.  I'm thankful for this wonderful opportunity to share my love of lettering. 


The color of the folder is purple, I use Dr. Martin Bleed Proof White Ink, Hunt 56 nib and Miracle Wedge paint brush to make the rose.  

Susan


Wednesday, May 6, 2015

Graduation Announcements Announcements

The years are flying by way to fast, and here I find myself getting ready for my last child to graduate from high schools.  As I'm sure many parents feel, it's definitely a bitter sweet event.

On the envelopes I used a mix of green gouache, I used a  hunt 56 nib in an oblique holder.  I included some wallet size pictures from Sarah's senior year.


This was a labor of love for my daughter, and myself.  Ready to book your event, just let me know.

Susan


Monday, April 27, 2015

Good to be Back

I'm back, and so excited about posting on my blog again.  So many things have change in my world since my last post, but the one constant is my creativity and calligraphy.  With that said, let's jump into a wedding I recently completed.


The bride wanted to incorporate two different lettering styles into the envelopes.


Here's the table numbers for the tables in the banquet room.


Here are the place cards, and their table numbers...


I made these as a gift to the bride and groom.


The bride and groom were married this past weekend! And they lived happily ever after! 
The End

Susan


Saturday, November 26, 2011

Christmas Tree Tutuorial


CHRISTMAS TREE TUTORIAL

This will be my first tutorial for 2011, and this project is so easy I know you'll want to make your own Christmas Tree.  Supplies you will need:  Poster board, hot glue gun, Mod Podge, acrylic paints, lace, trims, beads, flowers.  I have accumulated a variety of trims over the years.  When shopping I find its best to create a small goodie bag of trim, don't forget to check out both the wedding section as well as the children's bead section, you will save money this way.  

Step 1:  Make your cone with your poster board. Tape, staple or hot glue it together.  Next you will paint your base any color you like using acrylic paints, I selected to paint my gold.

Step 2:  Add your base layer of fabric, trim, or lace.  I purchased this lace just recently at a garage sale and used it as my base layer.   Layer your lace on to the poster board with Mod Podge and allow to dry completely.  I let mine dry over night before going on to the next step.  

Step 3:  Begin with the wide trim at the top and wrap it down the tree, I then added the beaded trim . Next a small strand of pearls, and lastly the large beads.  These large beads were in the children's section, I just cut them off the strand and hot glued those babies on.  


Step 4:  To create my tree topper I selected flowers from the bridal section, hot glued them into the hole at the top of my cone.  

TA DA, the completed Christmas Tree


This tree stands about 19 inches tall but you can make yours any size you'd like using different colors,  trims, beads, pearls, etc.  

Please send me pictures of the ones you make and leave a comment.
xxx
Susan